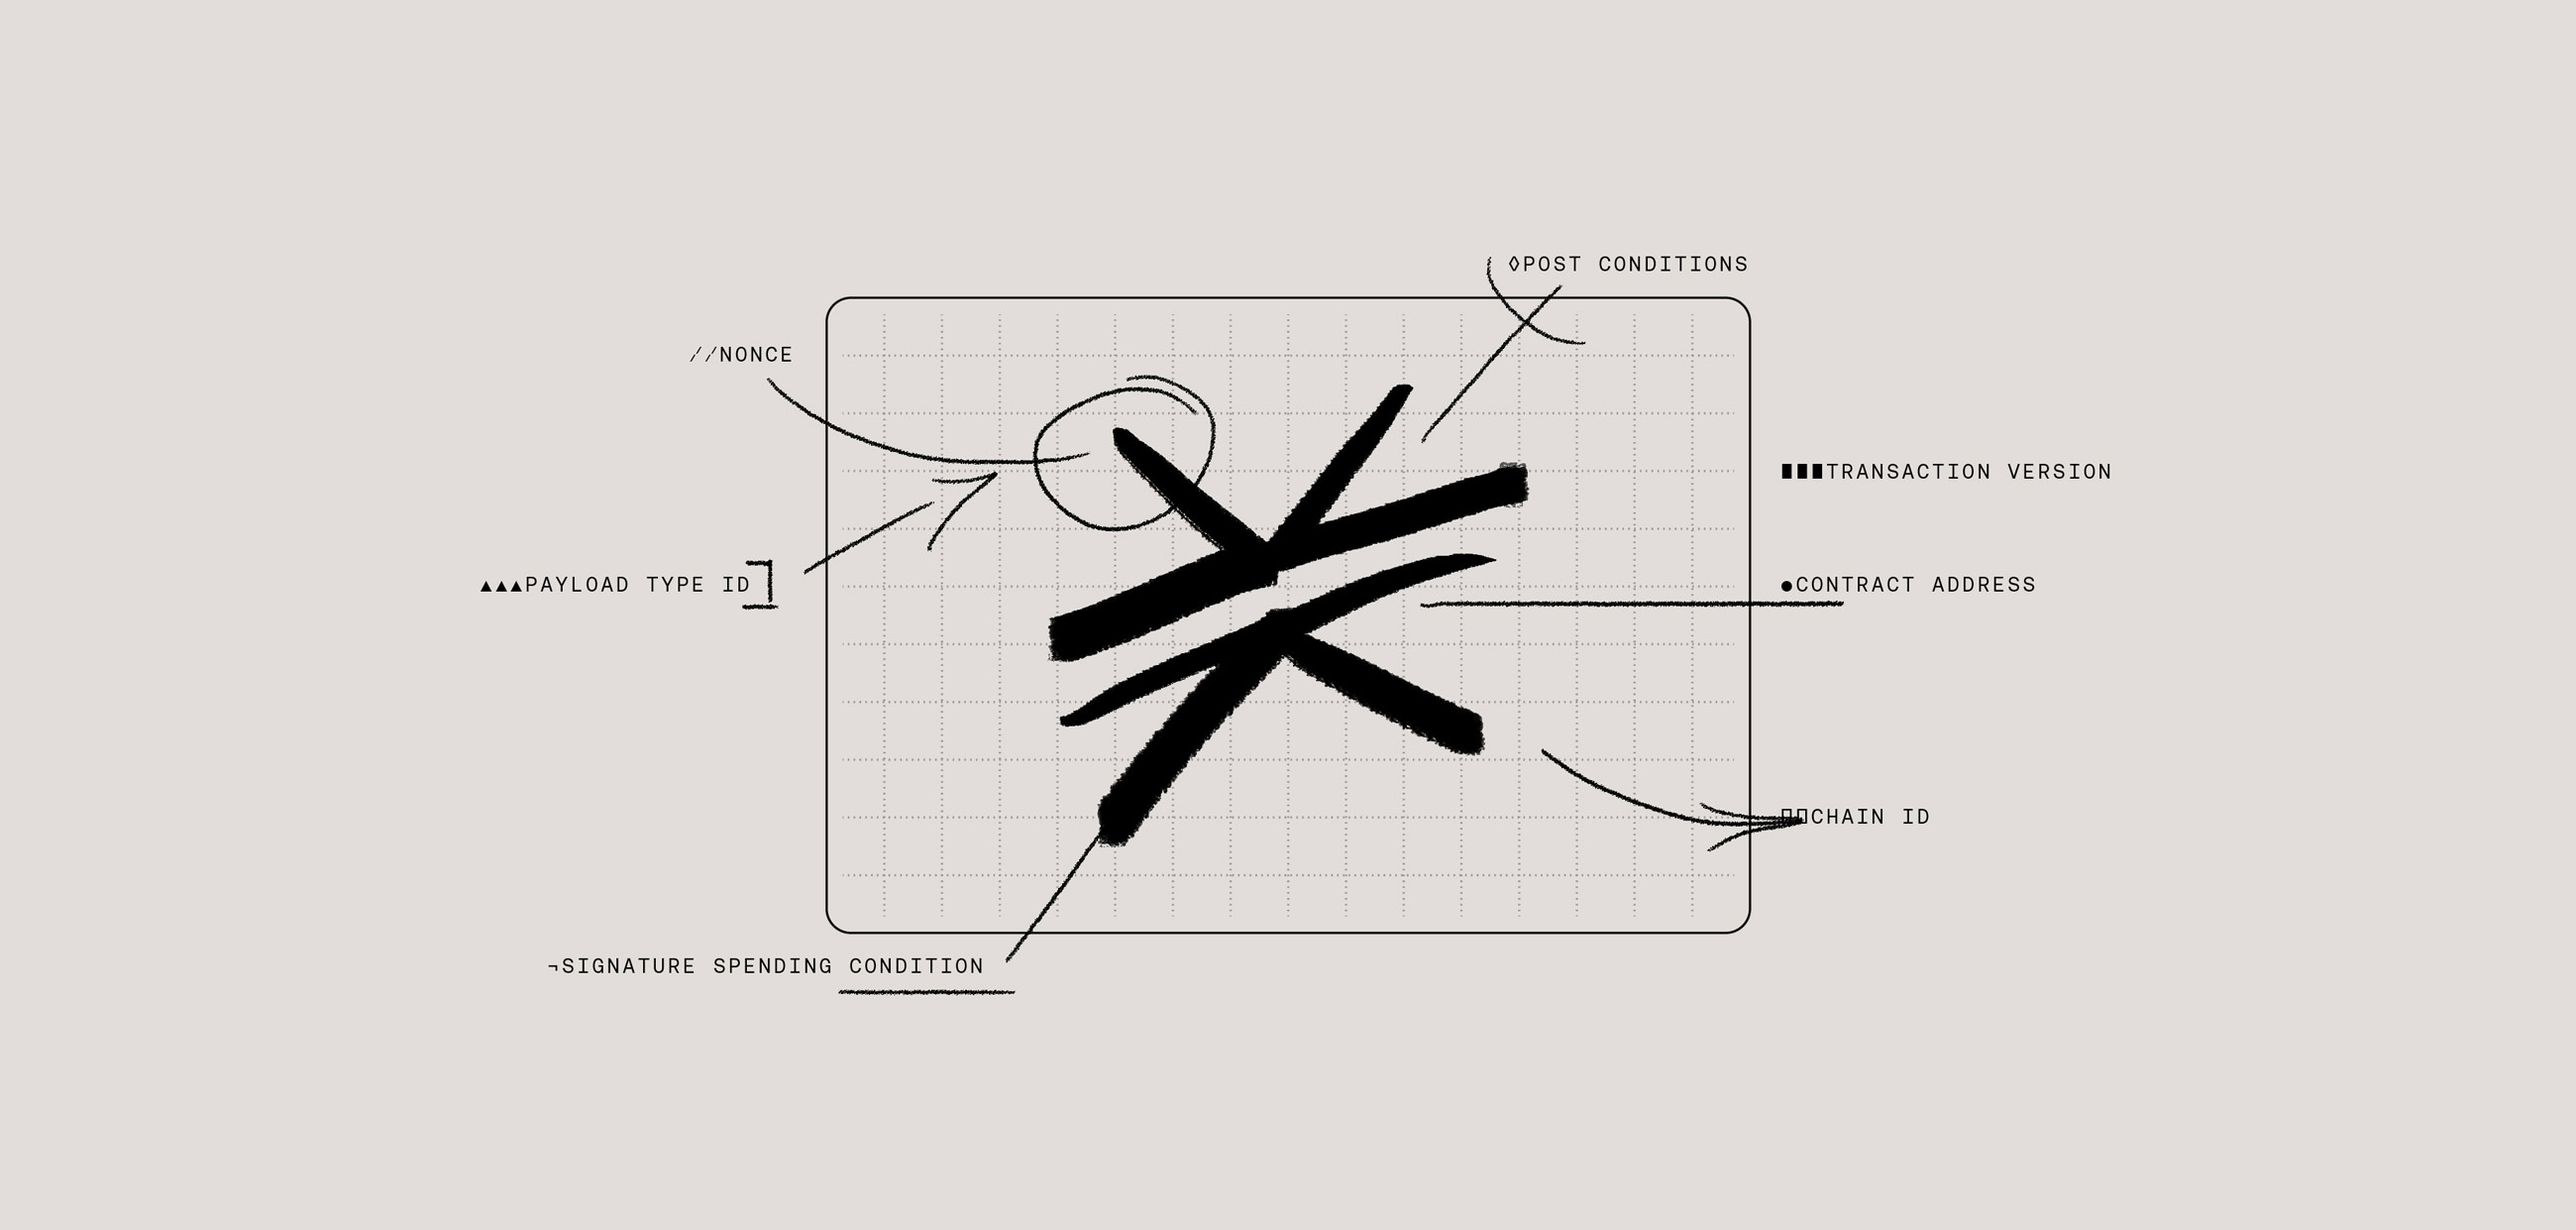
One of the main design principles of blockchains is that users are in control of their data and their assets. To that end, users have to sign transactions before those transactions can be executed on their behalf. This means that in your app, you need to incorporate transaction signing throughout the user flow in order for users to execute the Clarity smart contracts that are relevant to your application.
In this article, I’ll walk through parts of the connect package of Stacks.js and show you how to prompt users to sign transactions.
Getting the User’s STX Address
In order to sign transactions, you first need to authenticate the user and generate a userSession object. Check out this blog post for more information on the authentication process.
Once the user is authenticated, you can now pull the user’s Stacks address from the session, as discussed in the blog post linked above.
With their address, applications can now construct various transactions. For example, sometimes we need a user’s address for use in a smart contract. A sender’s address is not always needed for simple cases — as seen in the token transfer below.
Constructing and Signing Transactions
There are 3 types of transactions that can be signed on the Stacks network:
- STX transfer
- Smart contract deployment
- Smart contract execution
Before constructed transactions are “valid” from a network’s perspective, they need to be signed. For each transaction type, you will call a function provided by the connect package that will then trigger the display of a transaction signing prompt for that specific type.
For example, for a STX transfer, you would call the openSTXTransfer function. Transferring 100 microstacks to address ST2EB…3CV on the testnet looks like this:
As you can see here, there are several parameters available for calling in this function, including (but not limited to):
- recipient: the STX address for the recipient of the transfer
- amount: the amount to be transferred (in microstacks, 1 STX = 1,000,000 microstacks)
- memo: optional details about the transaction
- appDetails: the name and logo of your application
This function will then trigger a display for the user to sign the corresponding transaction, which they can confirm or cancel.
You can see a full list of parameters for all transaction types in our documentation.
Getting the Signed Transaction Back
Once you prompt the user to sign a transaction, you are also able to specify an onFinish callback. This callback will trigger after the user broadcasts their signed transaction to the network.
Note: This transaction will still be pending at the time of the callback until the transaction has been successfully mined on the Stacks blockchain!
This callback is returned as a single argument, which is an object with the following properties:
- stacksTransaction: a StacksTransaction object,
- txId: the transaction identifier,
- txRaw: the serialized transaction
The txID can also be used to provide a link to view the transaction in the Stacks Explorer:
Transaction Request and Transaction Response
@stacks/connect serializes and deserializes data between your app and the Stacks wallet. Under the hood, the payloads use tokens that conform to the JSON Web Token (JWT) standard with additional support for the secp256k1 curve used by Bitcoin and many other cryptocurrencies. Visit the documentation for more information on the transaction requests/responses and using @stacks/connect with React.
Conclusion
The Hiro team has bundled all of this functionality into the connect package of Stacks.js to make app development more of a seamless experience. With this package, you can seamlessly integrate flows for signing transactions, so that users can interact with your application.
Check out how Sigle built a token-gated feature in their app using message signing. To learn more about signing transactions, check out our documentation for more details.


